Step 1: Emergency Intake and Dispatch (0 to 60 minutes)
- Call answered live, 24/7, by a Pendleton dispatcher, not a national call center.
- Intake captures: address, source of water, square footage affected, occupants, pets, and any standing water depth in inches.
- Source control verified. If a supply line is still leaking, you are walked through shutting the main valve at the meter or basement riser.
- Crew dispatched with a target on-site arrival of 60 to 90 minutes inside Marion County, up to 2 hours for outer counties.
- Insurance carrier and policy number logged so claim documentation starts before we arrive.
- Pre-arrival instructions texted to the property contact: move valuables off wet floors, lift drapes and bed skirts, place foil squares under furniture legs to prevent stain transfer.
- Estimated time of arrival updated by SMS at the 30-minute and 10-minute marks so you are not waiting at a window.
Step 2: Site Assessment and IICRC Category Classification
- Technician performs a perimeter walk and identifies the water source.
- Water is classified per IICRC S500: Category 1 (clean supply), Category 2 (grey, appliance discharge), or Category 3 (sewage, floodwater, standing more than 48 hours).
- Class of loss assigned 1 through 4, based on evaporation load and saturation depth.
- Moisture mapping performed with a non-penetrating meter on every wall, floor, and ceiling in the affected area. Readings logged at 4-foot intervals.
- Baseline readings established in unaffected rooms for comparison. Wood typically reads 7 to 12 percent in a dry Pendleton home, drywall under 1 percent on a scaled meter.
- Photos taken of every damaged surface for the claim file.
- Thermal imaging used to trace hidden migration. Cold spots on a FLIR image indicate evaporative cooling behind paint, often 6 to 18 inches above the visible waterline.
- Category can be upgraded mid-job if conditions change. A clean supply leak left for 72 hours in a warm cavity is treated as Category 2 once microbial amplification becomes likely.
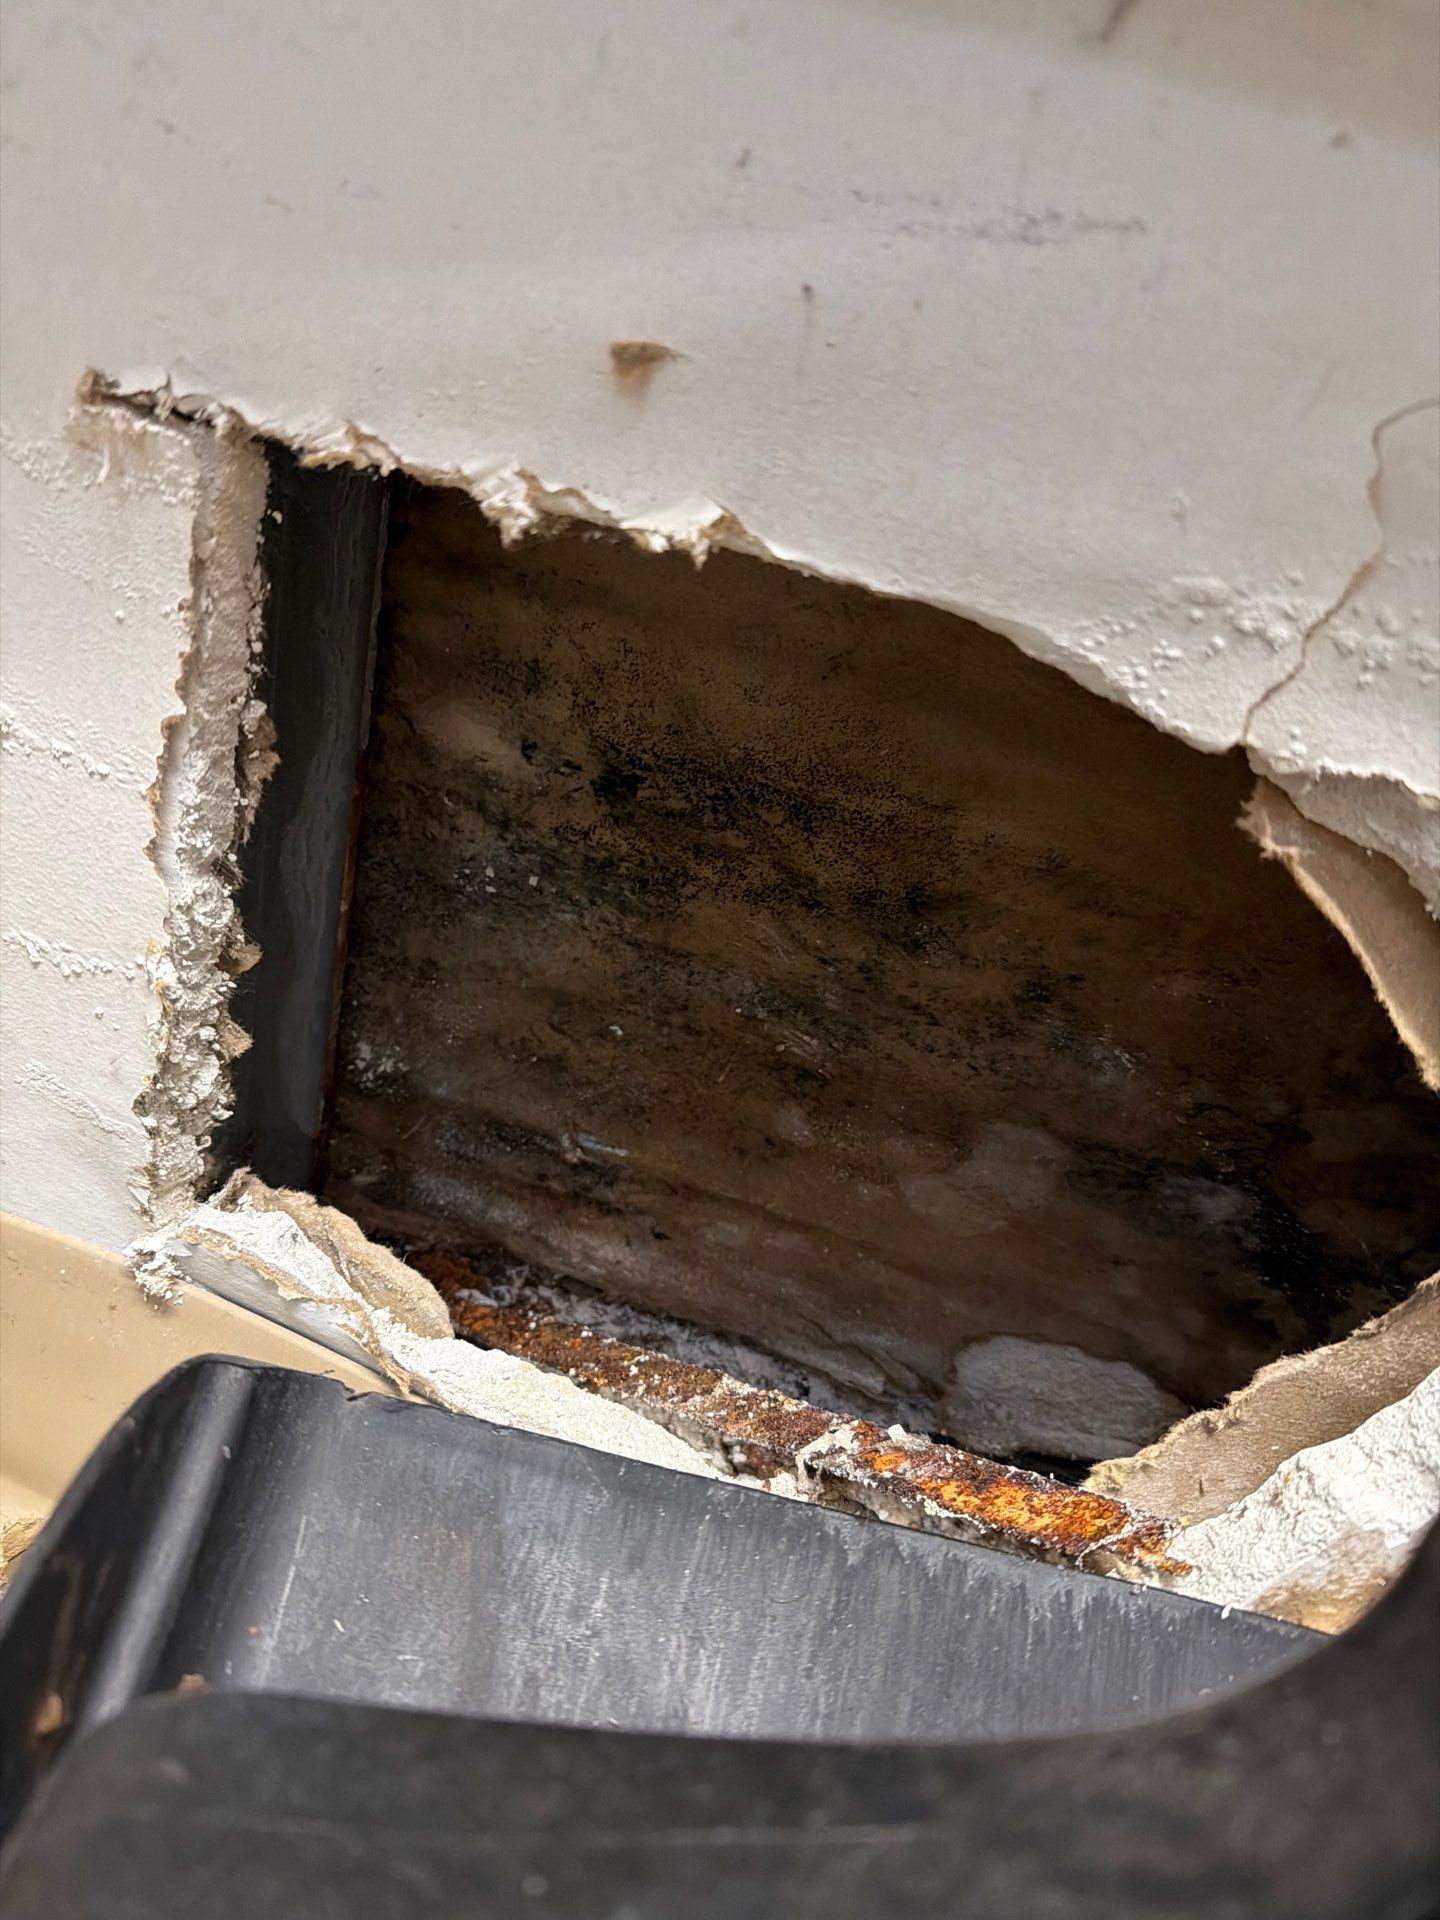
Step 5: Controlled Demolition (Only When Required)
- Drywall cut at 2 feet or 4 feet above the waterline using a clean horizontal line.
- Wet insulation removed and bagged. Fiberglass holds water and will not dry in place.
- Baseboards pulled, labeled, and stored if reusable.
- Hardwood inspected for cupping, crowning, or buckling. Decision made at 72-hour mark whether drying in place is viable.
- Vinyl plank and laminate generally pulled because moisture trapped beneath promotes microbial growth within 48 to 72 hours.
- Cabinet toe-kicks removed to ventilate the cavity below, a common hidden reservoir in kitchen and bathroom losses.
- Tile floors checked for hollow-sound voids by tapping with a metal probe. Hollow sections indicate adhesive failure from substrate saturation.
Step 3: Containment and Safety Setup
- Power shut off to affected circuits if outlets, switches, or fixtures sit within 24 inches of the waterline.
- Slip hazards marked. Walk paths laid with non-slip runners.
- For Category 3 losses, 6-mil poly containment erected with zipper doors. Negative air established at 4 to 6 air changes per hour using a HEPA air scrubber.
- PPE upgraded to Tyvek, nitrile gloves, and full-face respirators for sewage or floodwater jobs. See our sewage cleanup service for full Category 3 protocol.
- HVAC system shut down if return ducts are within the affected area, preventing cross-contamination into dry rooms.
- Critical contents (electronics, documents, photographs) photographed in place, then relocated to a designated dry staging area on tarps or plastic sheeting.
Step 4: Bulk Water Extraction
- Truck-mounted or portable extractors deployed based on volume. Truck mounts pull 100+ gallons per minute.
- Standing water over 2 inches removed with submersible pumps rated 1/2 HP or higher.
- Carpet extracted with a weighted extraction wand. One pass per 18 inches of width, overlapping by 50 percent.
- Pad removed and bagged if saturation exceeds 75 percent, or always on Category 2 and Category 3 losses.
- Sub-floor inspected. Tongue-and-groove plywood often retains water at the seams and requires drilled relief holes.
For deeper detail on the extraction phase specifically, the water extraction services walkthrough covers wand patterns and pump sizing in more depth.
Step 9: Handoff to Reconstruction
- Scope of repairs documented: drywall, insulation, flooring, paint, trim.
- Xactimate estimate prepared in carrier-readable format.
- Reconstruction scheduled directly through Pendleton Water Restoration or released to your contractor of choice.
- Full claim package, including moisture logs and photos, transmitted to your adjuster.
- 30-day courtesy follow-up call placed to confirm no secondary issues (musty odor, paint blistering, baseboard separation) have appeared after reconstruction.
Step 7: Daily Monitoring (Days 1 through 4)
- Technician returns every 24 hours. No exceptions.
- Moisture readings re-taken at every mapped point and logged in psychrometric software.
- Equipment repositioned based on slowest-drying areas.
- Temperature held between 70 and 90 degrees Fahrenheit to maximize evaporation.
- Dehumidifier reservoirs checked, condensate lines verified clear.
- Daily report emailed to you and your adjuster.
- Grains-per-pound differential between the affected space and outside air recorded to confirm the dehumidifiers are still pulling efficiently. A drop below 10 GPP differential signals it is time to reposition or add capacity.
Step 8: Dry-Out Verification and Equipment Removal
- Drying goal: materials within 2 to 4 percentage points of the unaffected baseline reading.
- Three consecutive days of stable, dry readings required before equipment pulls.
- Final moisture map photographed and attached to the close-out report.
- Air quality spot-checked. For Category 2 or 3 jobs, an antimicrobial application is documented.
- Equipment inventoried out. You sign a Certificate of Drying that satisfies most insurance carriers.
- Penetrating pin meter used as a confirmation pass on framing lumber and subfloor, since non-penetrating meters can miss deep retained moisture.
Step 6: Structural Drying Setup
- Equipment calculated by cubic footage. Standard formula: 1 air mover per 50 to 60 square feet of wet floor plus 1 per wet wall corner.
- Low-grain refrigerant (LGR) dehumidifiers placed at 1 unit per 1,500 to 2,000 square feet, sized by pints-per-day removal capacity.
- Air movers angled at 15 to 45 degrees against wet surfaces for boundary-layer evaporation.
- Indoor humidity targeted at 40 to 50 percent relative humidity, with grains per pound monitored to confirm dehumidifier output.
- Wall cavities dried with InterAir systems or drilled ventilation holes behind the baseboard line.
- Hardwood drying mats deployed when salvage is viable. See guidance on hardwood floor water damage for decision criteria.
- Power load calculated against available circuits. A typical setup of 12 air movers and 2 LGRs draws roughly 20 to 24 amps and is split across two or three dedicated 15-amp circuits to avoid breaker trips overnight.